How to prepare your design for sublimation printing and laser cutting
Are you ordering corporate performance T-shirts or long-sleeves with your own design? To make sure the print matches your concept and the artwork can be sent to production without additional revisions, it is important to prepare the file correctly.
We manufacture performance T-shirts and long-sleeves from Coolmax fabric using sublimation printing and laser cutting. Therefore, the artwork must meet certain technical requirements.
In this guide, we explain which files you need to provide, how to position logos and other important elements, what to consider when preparing backgrounds, and why the pattern pieces must not be altered.
1. Getting started with your design
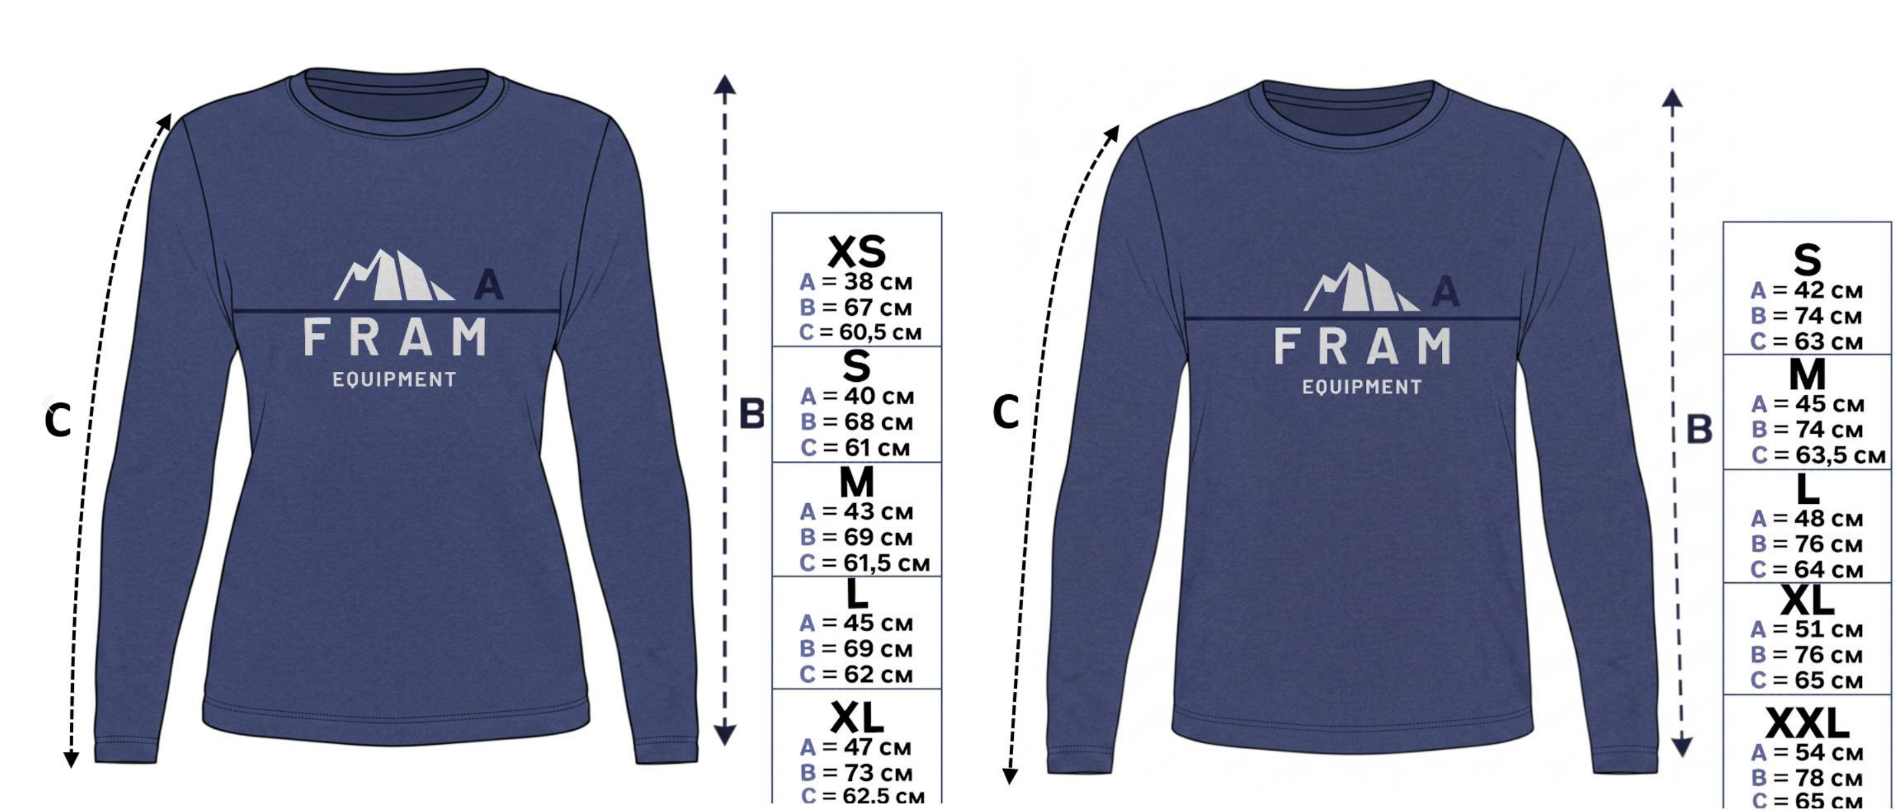
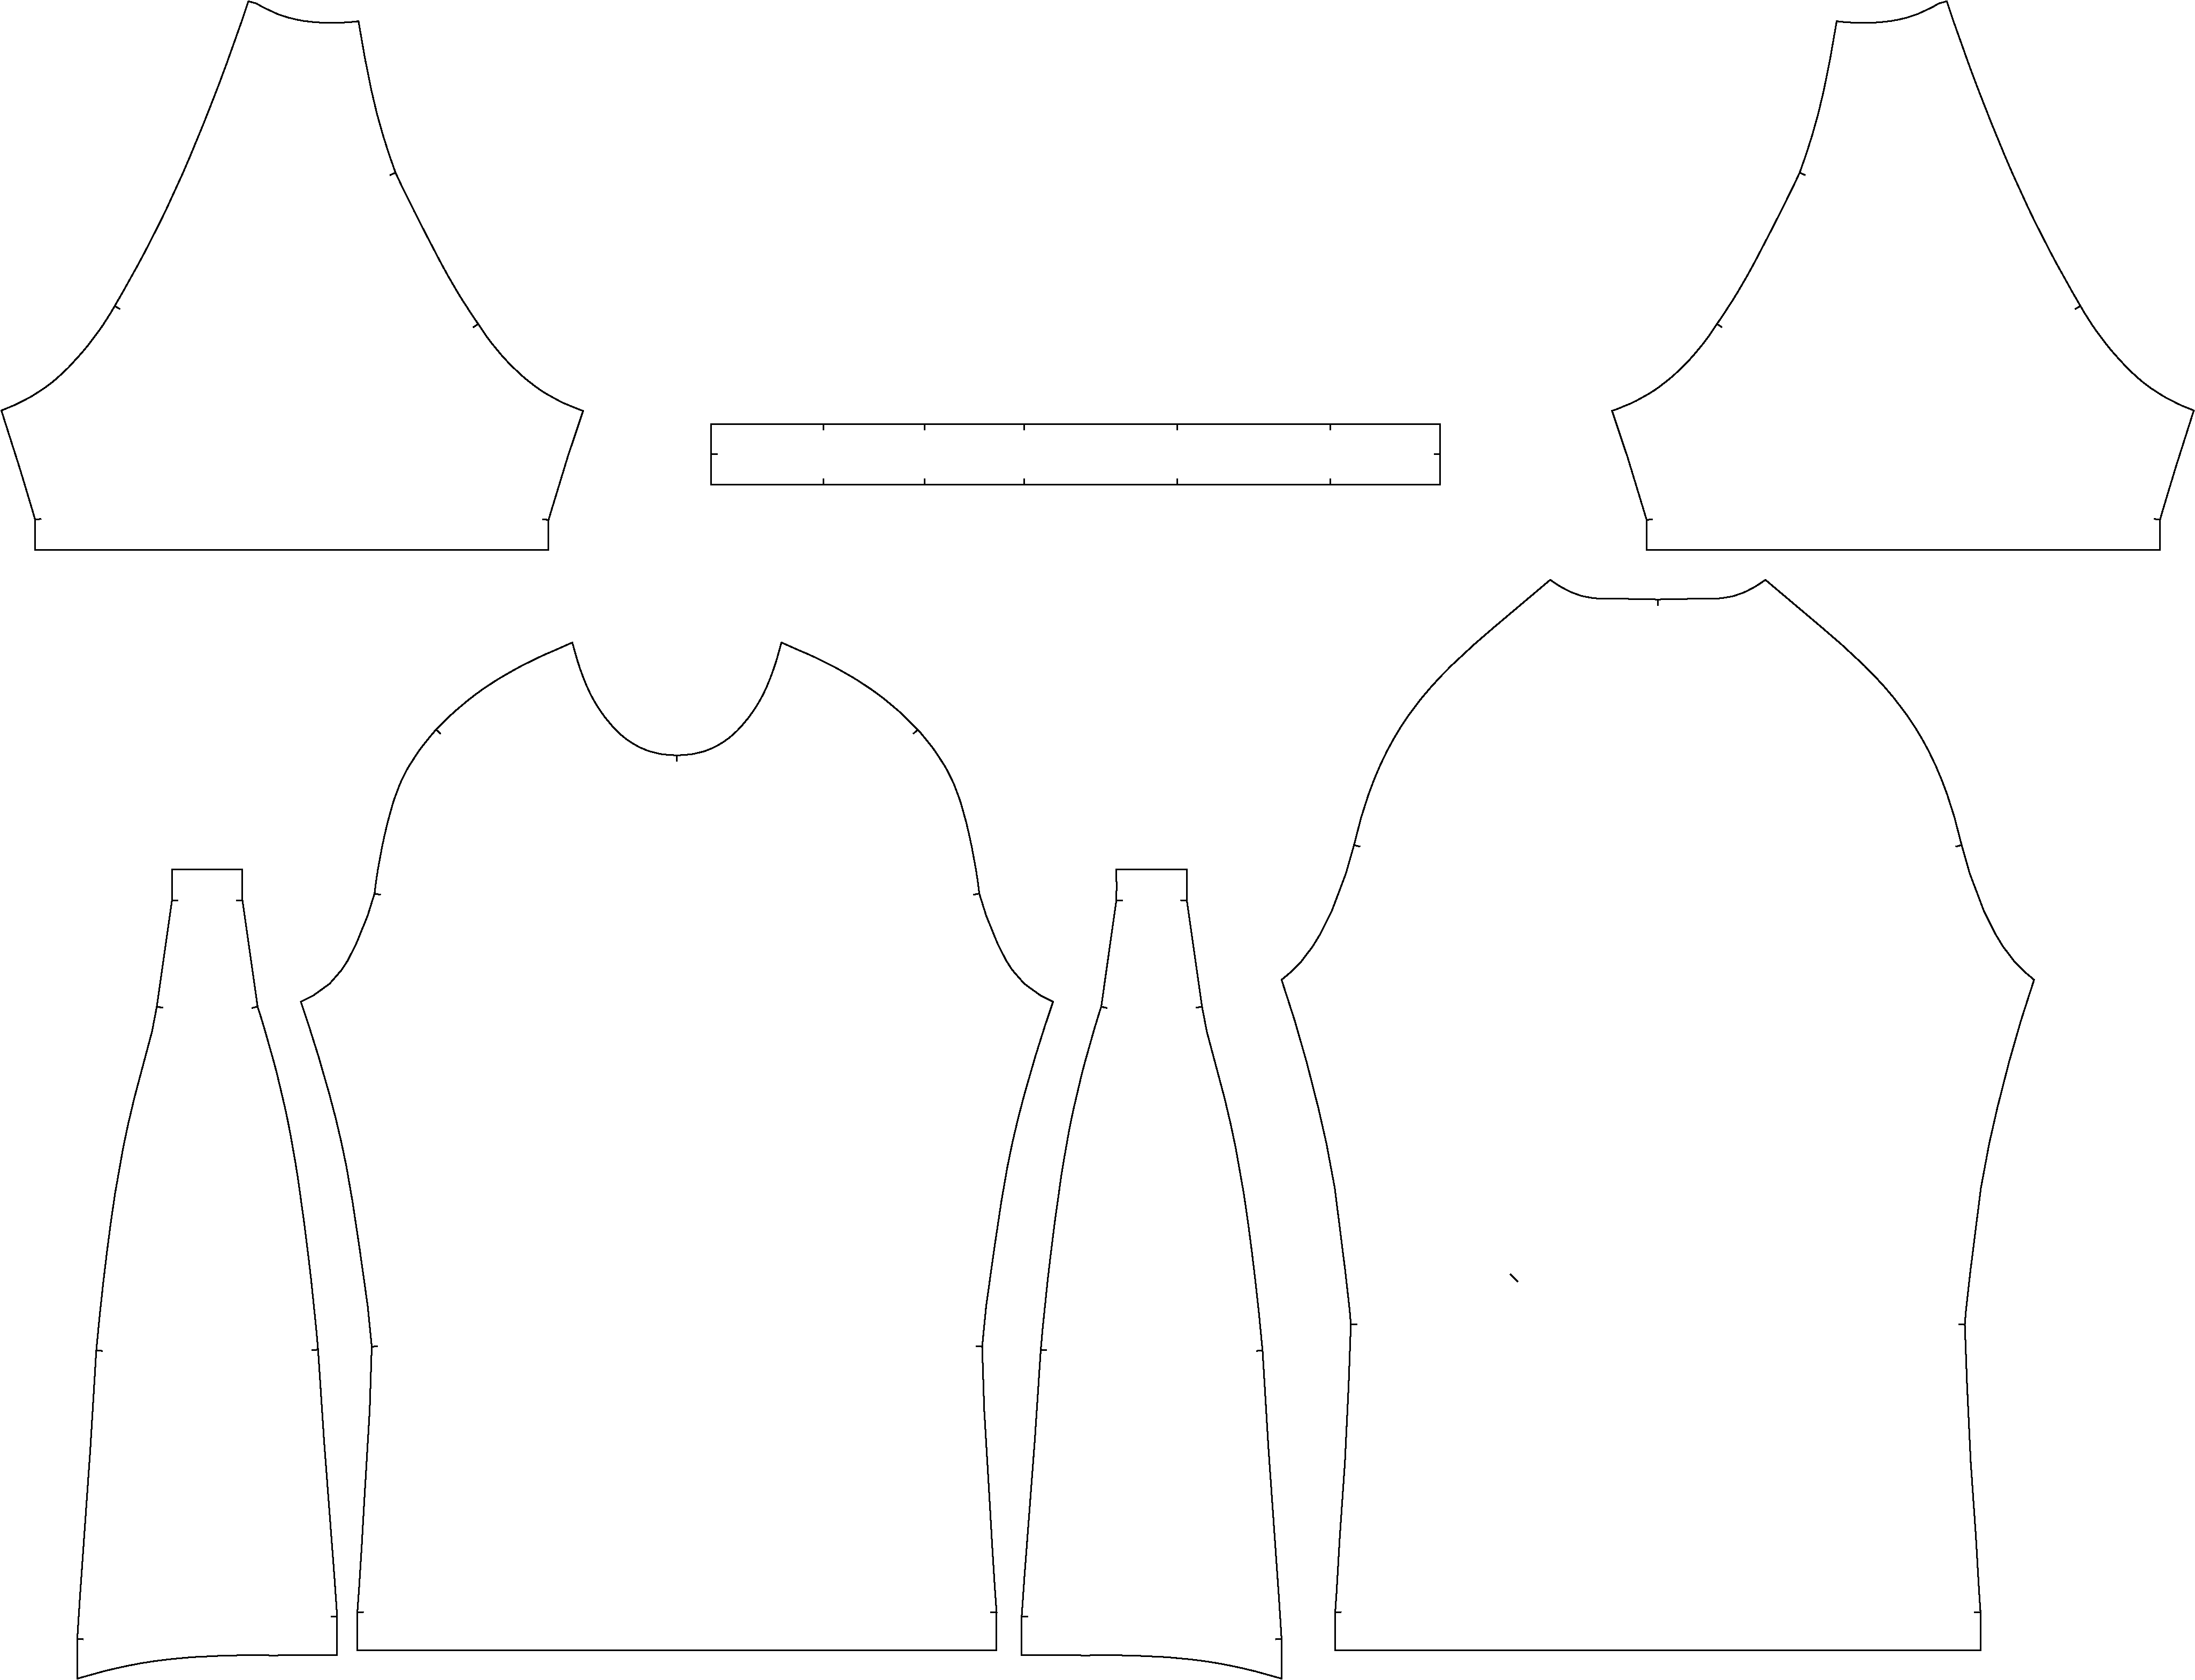
To prepare the artwork, we provide corporate clients with the necessary materials:
- vector garment patterns in the base XL size;
- patterns in Adobe Illustrator (.AI) format;
- a garment example or 2D/3D visualizer for design placement;
- outlines of individual pieces used for subsequent laser cutting.
The design must be created directly on the provided patterns. This allows you to see immediately how the print will be positioned on each piece of the finished garment.
What you need to provide
The finished design must include two files:
1. Working file — Adobe Illustrator (.AI)
This is the main file used to prepare the garment for printing and cutting.
(click on the image to view or download in high quality):
Female longsleeve Male longsleeve
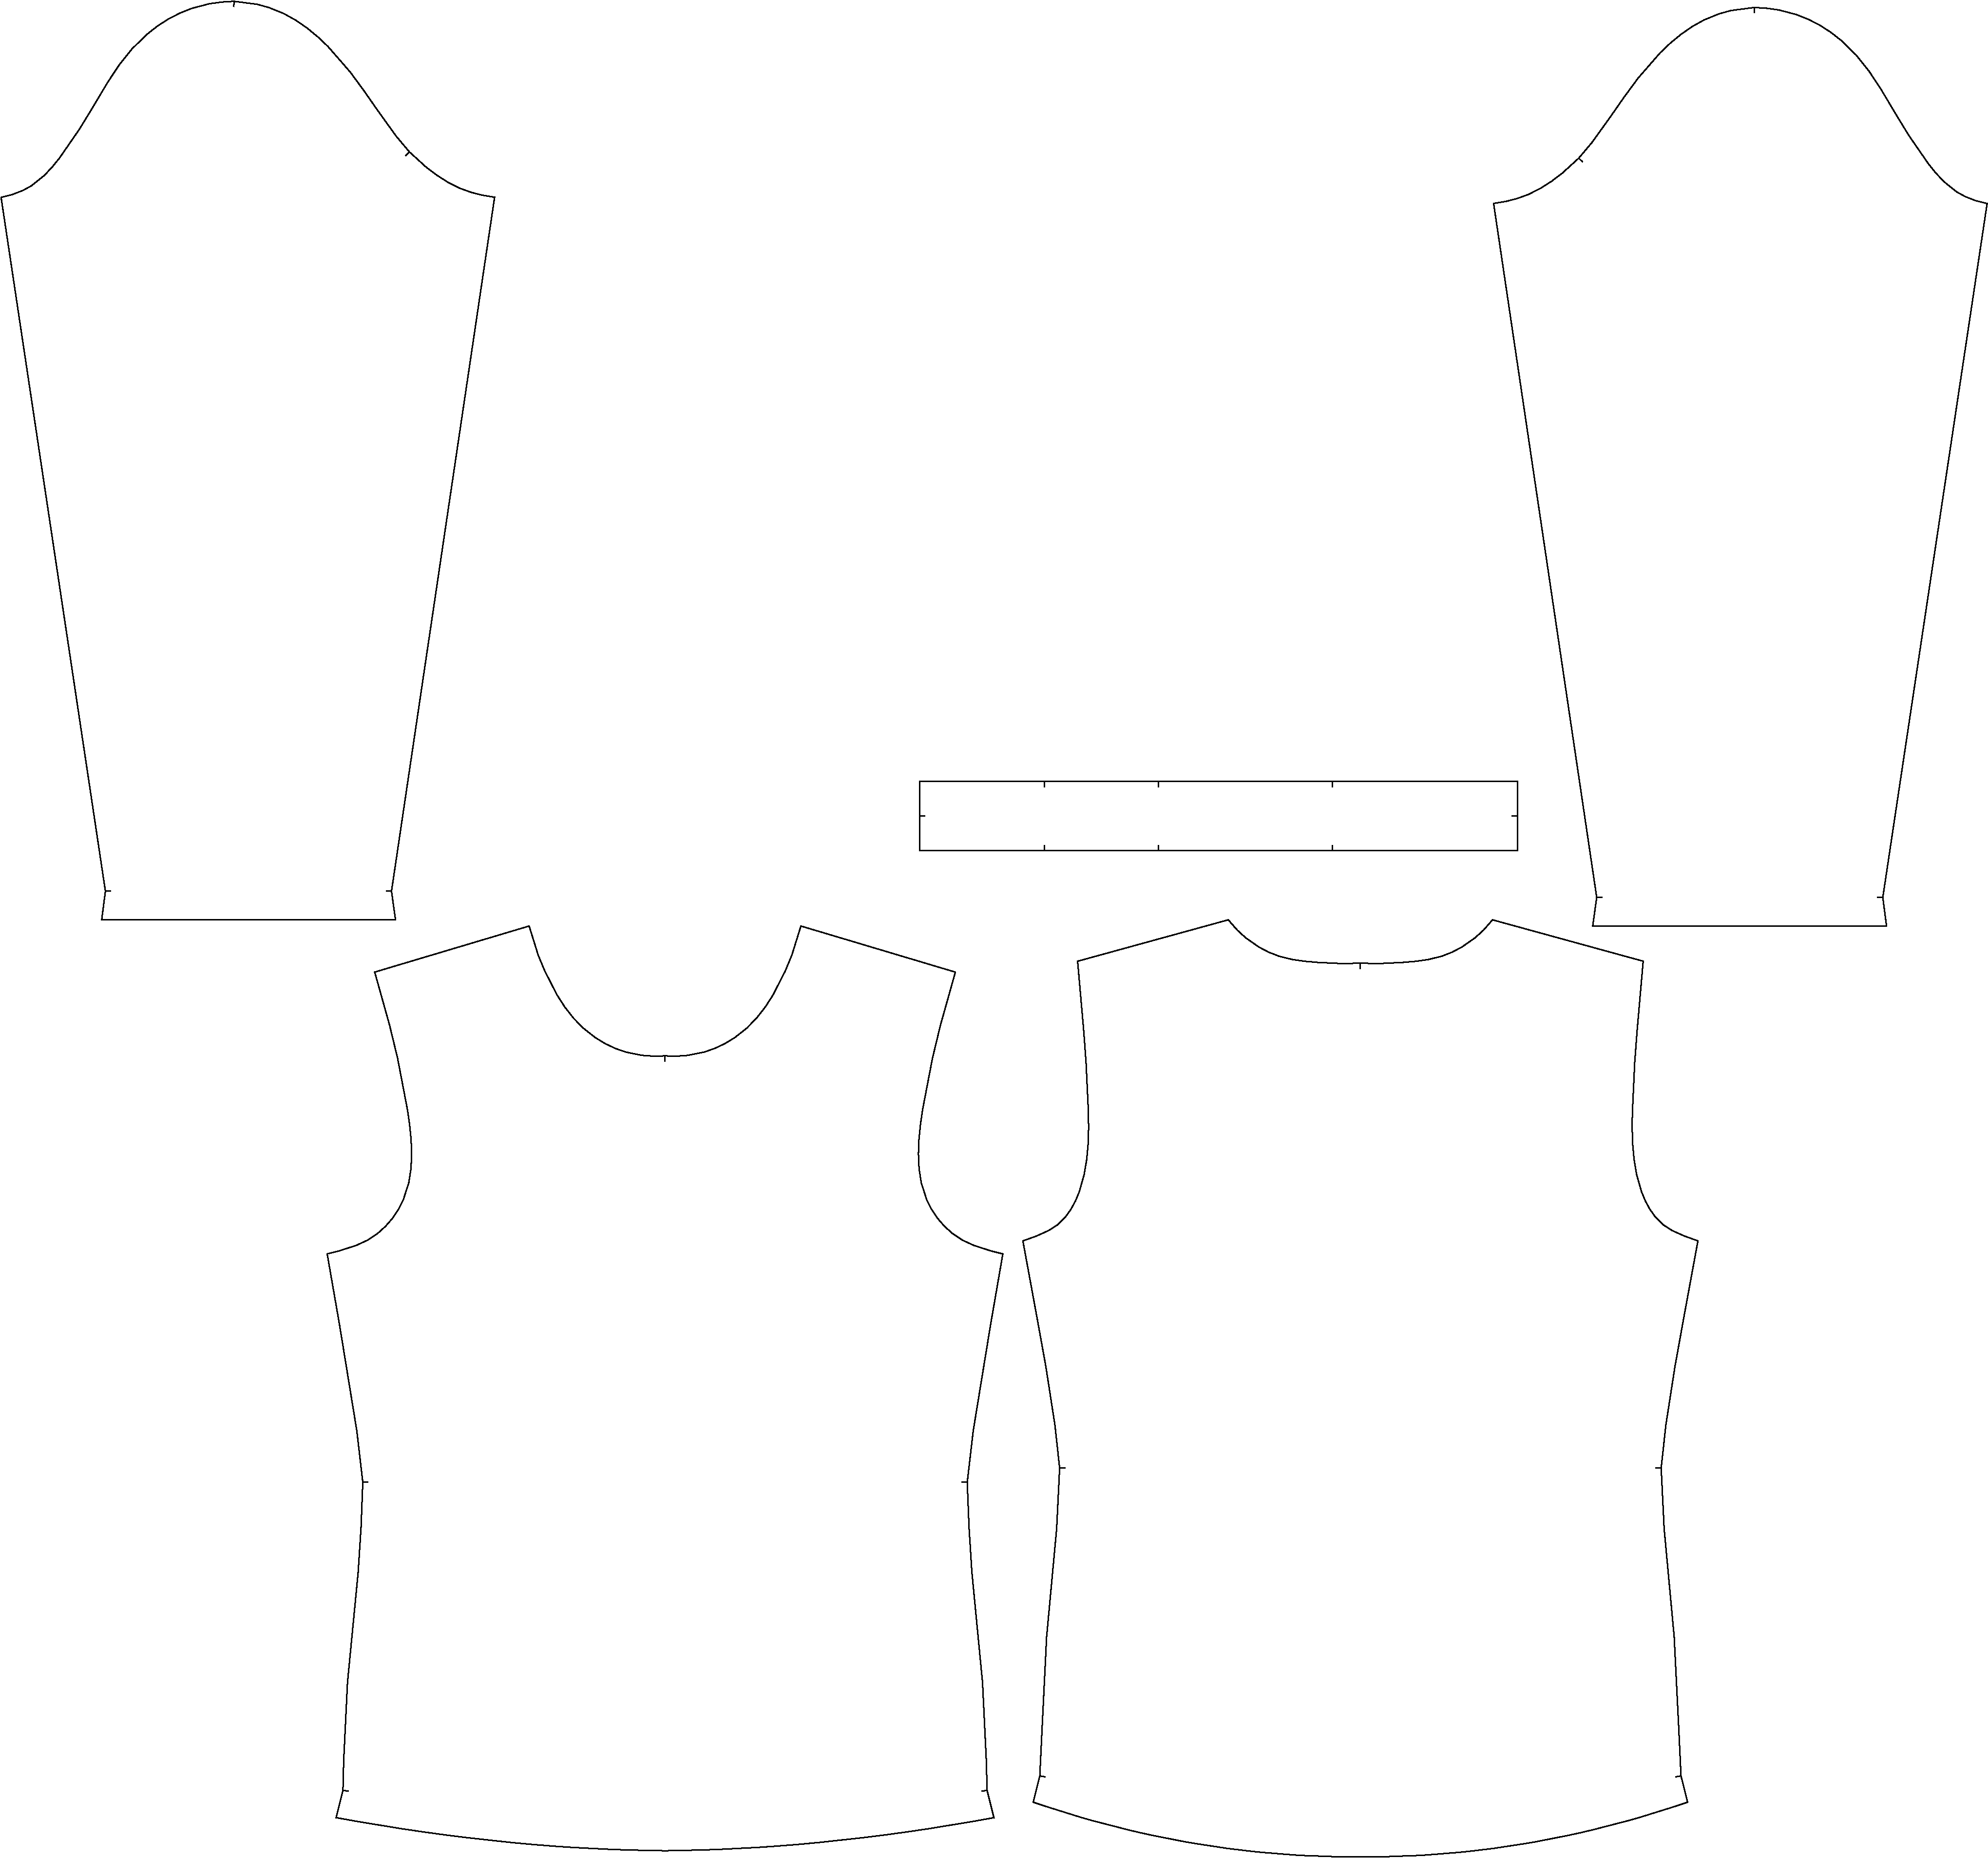
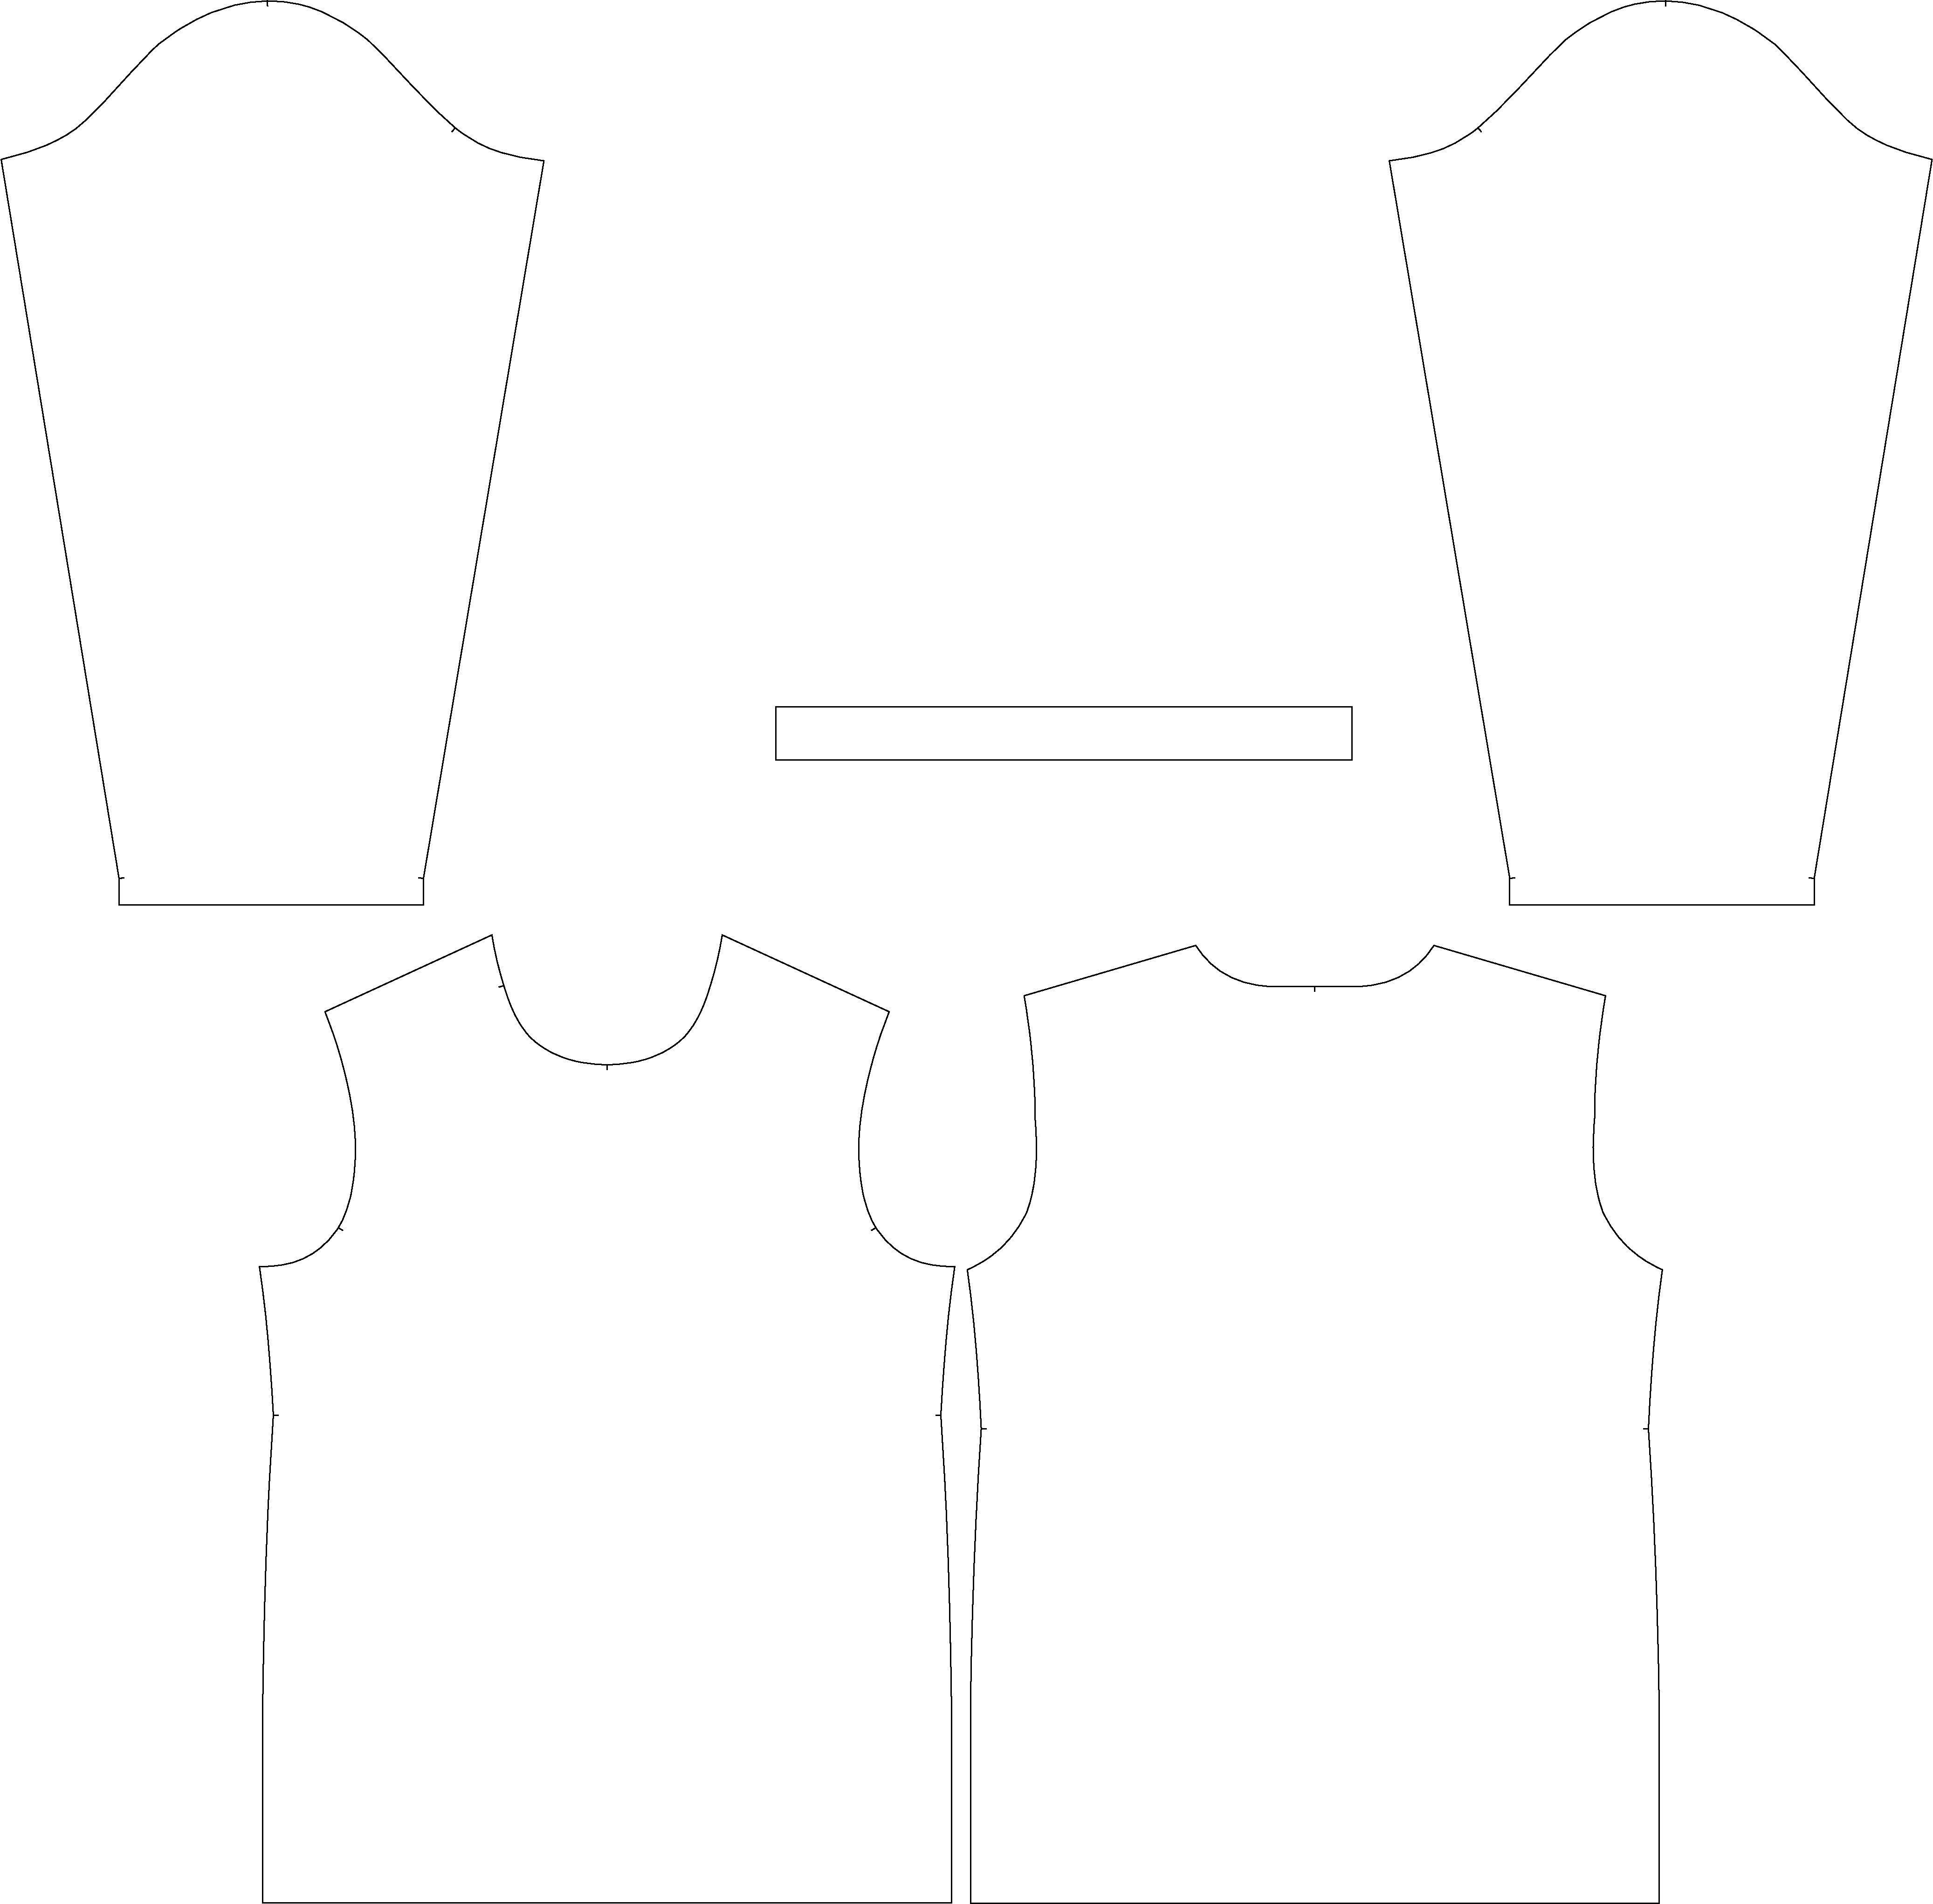
Female t-shirt Male t-shirt
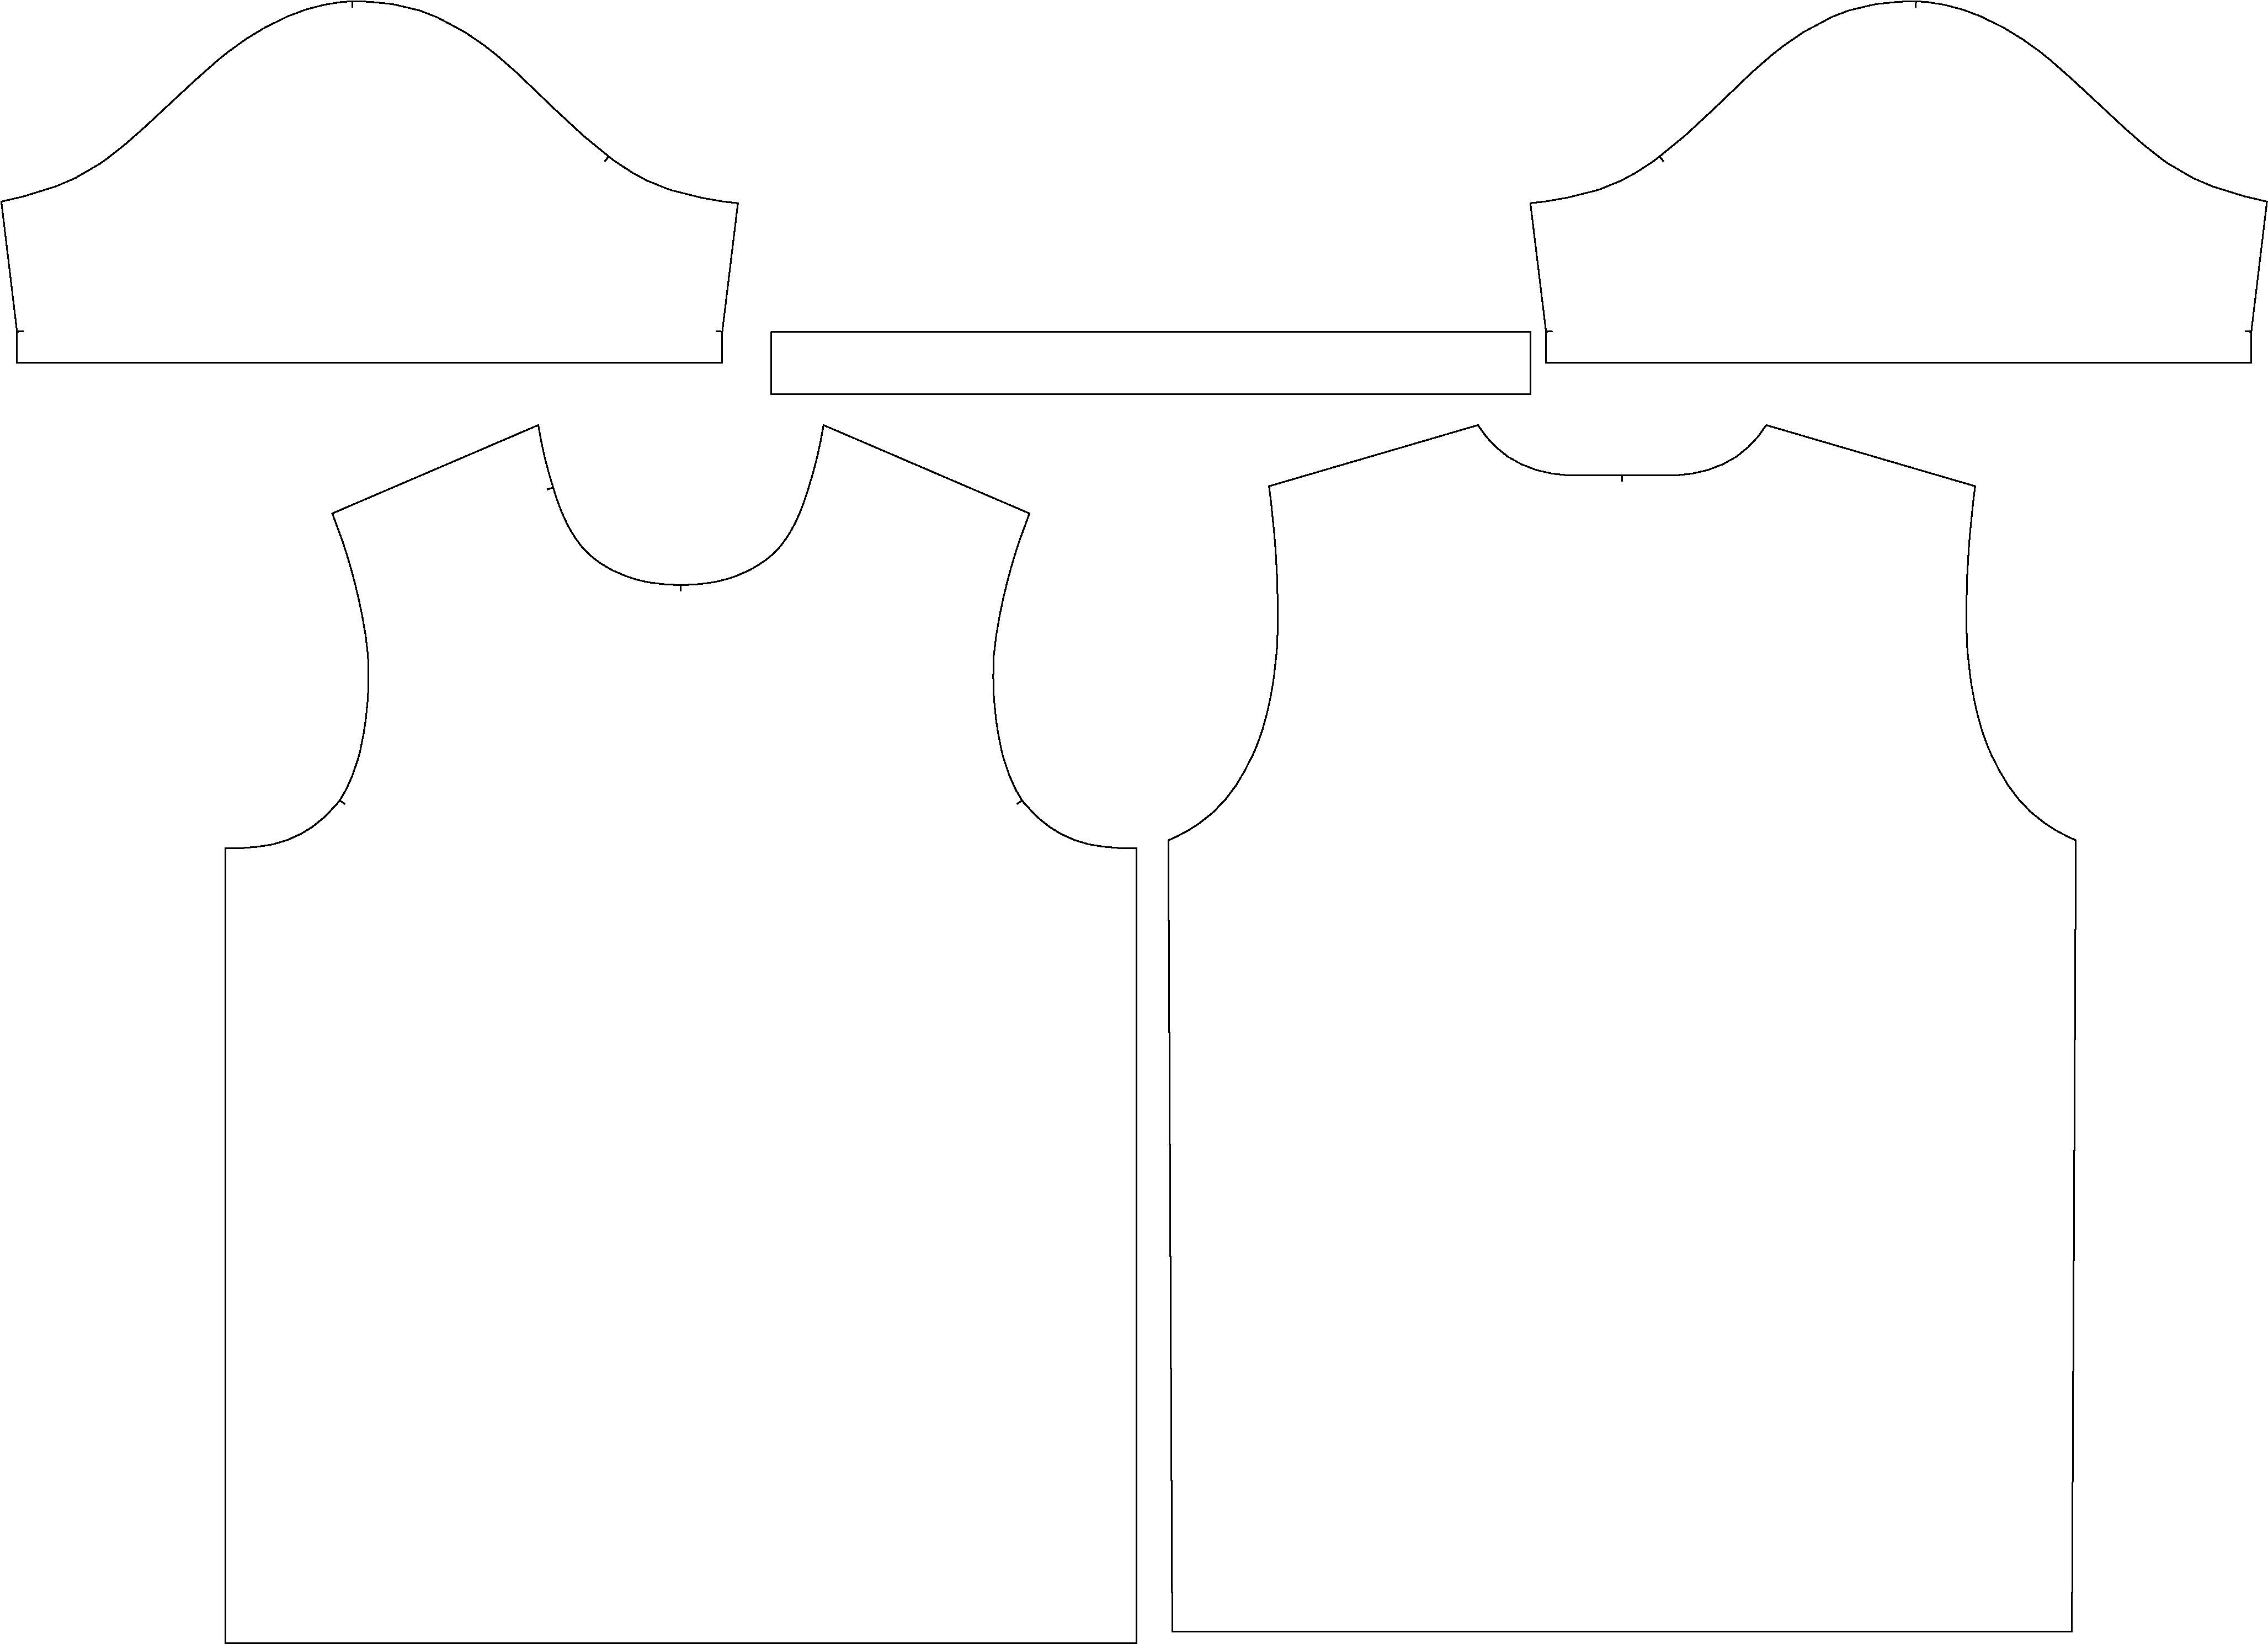
2. Visualization — JPG
This allows us to quickly check whether the finished artwork matches your concept, including the placement of logos, text, patterns, colors, and other elements.
2. What we do after receiving the artwork
You do not need to prepare separate files for each size.
You create the design in the base XL size, and our production team will then handle:
- pattern grading for sizes XS–3XL;
- preparing the design for printing;
- automated nesting of the pieces on the printing layout;
- accounting for fabric shrinkage;
- preparing the outlines for laser cutting.
Therefore, you do not need to scale the artwork for each size or create separate XS, S, M, L, XL, 2XL, and 3XL files.
3. Requirements for the Adobe Illustrator working file
To ensure that the artwork can be correctly transferred to production, pay attention to the following technical parameters.
File format
The working file must be provided in:
Adobe Illustrator (.AI)
Other formats, such as JPG, PNG, or PDF, cannot replace the original vector file because production requires working with individual objects and outlines.
Scale
The artwork must be prepared at: 1:1 scale
This means that all elements are positioned on the patterns at their actual size.
Color mode
The file must be prepared in: CMYK
This is important for correct color preparation for sublimation printing.
Please note that the color displayed on your monitor and the color of the finished garment may differ slightly. The result is affected by the characteristics of the fabric, sublimation transfer, and the production process itself.
4. Convert fonts to outlines
All text in the artwork must be converted into vector outlines.
In Adobe Illustrator, this can be done using: Create Outlines / Ctrl+Shift+O
Why is this important?
If a font remains a text object and the computer opening the file does not have that font installed, Illustrator may replace it with another one. This can change the typeface, size, or position of the text.
After converting text to outlines, it becomes a vector object and no longer depends on the availability of a specific font.
Before submitting the artwork, make sure that all text, numbers, and other text elements have been converted to outlines.
5. Raster images and special effects
Your design may include shadows, transparency, gradients, textures, glows, and other effects.
Such elements must be rasterized in CMYK.
Recommended resolution: 150–300 dpi
This applies, in particular, to:
- photographs;
- textures;
- shadows;
- glows;
- complex gradients;
- other raster or rasterized effects.
If your design contains raster images, make sure they have sufficient quality at actual size.
6. Clean up the artwork before submission
Before sending the file, check its structure.
The artwork should not contain:
- hidden objects;
- unnecessary layers;
- old design versions;
- unused locked objects;
- test elements;
- unnecessary outlines;
- unused fragments from previous versions.
The cleaner the file, the lower the risk of accidentally including an element in production that was left in the artwork by mistake.
7. Black color on Coolmax fabric
For large black areas, we recommend using the following deep black formula:
C: 91%
M: 79%
Y: 62%
K: 98%
This combination helps achieve a more saturated black after sublimation transfer onto Coolmax fabric.
We do not recommend using only:
K: 100%
for a large black background.
After sublimation, this black may appear insufficiently saturated and visually closer to dark gray.
Therefore, for large black areas, use the recommended formula rather than pure K:100%.
8. How to position backgrounds and patterns correctly
One of the most important aspects of preparing artwork for garment production is taking seam allowances and the technical piece outlines into account.
The background image, pattern, or color fill must extend all the way to the outer cutting contour.
Do not leave white or unfilled areas between the background and the outer edge of the piece.
During production, the pieces will be laser-cut and then sewn together. Therefore, the background must fully cover the piece area, taking the technical zone into account.
9. Sewing line and seam allowance
The provided patterns include a technical zone for sewing the pieces together.
The sewing line is located 10 mm (1 cm) inside the outer cutting contour.
The area between the outer cutting contour and the sewing line becomes part of the internal seam during sewing.
This means that design elements placed within this area may be partially or completely hidden by the seam.
Therefore, logos, text, and other important elements should not be placed too close to the edge of the piece.
10. Safe zone for logos and text
All important design elements should be positioned with sufficient distance from the sewing line.
These elements include:
- logos;
- company names;
- text;
- numbers;
- flags;
- symbols;
- important graphic elements;
- any other information that must remain clearly visible on the finished garment.
We recommend leaving at least 10–15 mm from the sewing line.
Since the sewing line is located 10 mm from the outer cutting contour, this means that important elements should be positioned approximately at least 20–25 mm from the outer contour of the piece.
A simple rule
Background — all the way to the edge.
Important content — keep it away from the edge.
This reduces the risk of a logo or text being caught in the seam or partially lost during sewing.
11. Do not modify the pattern outlines
The piece outlines we provide are already prepared for the production process.
The garment outline contains a solid black color K:100% and a line thickness of 3 pt. After printing, this outline is read by the optical sensor of the laser cutting system.
Therefore, the outline is part of the production process and must not be modified.
Do not:
- delete the outline;
- break it;
- deform it;
- change its shape;
- move individual sections;
- change its thickness;
- change its color.
Work with the design inside the provided patterns without modifying the production outline itself.
12. Common artwork preparation mistakes
To avoid unnecessary revisions before production, check your artwork for the most common mistakes.
❌ Text remains a text object
Correct: convert all fonts to outlines.
❌ Design is not prepared at actual size
Correct: work at 1:1 scale.
❌ File is prepared in RGB
Correct: use CMYK.
❌ Background does not reach the edge of the pattern
Correct: extend the background, pattern, or fill to the outer cutting contour.
❌ Logo is positioned too close to the edge
Correct: leave at least 10–15 mm from the sewing line.
❌ Piece outline has been changed or deleted
Correct: do not edit the production outline of the pattern.
❌ Black background uses only K:100%
Correct: use C91 M79 Y62 K98 for a saturated black background.
❌ Old design versions remain in the file
Correct: remove unnecessary, hidden, and locked objects before submission.
13. Artwork submission checklist
Before sending the design to production, check the following:
File
- Format — Adobe Illustrator (.AI)
- Scale — 1:1
- Color mode — CMYK
- All fonts converted to outlines
- Raster elements are 150–300 dpi
- Special effects are rasterized in CMYK
- Unnecessary and hidden objects are removed
Design
- Background and patterns extend to the outer cut line
- Logos and text are located within the safe zone
- Important elements are offset by at least 10–15 mm from the seam line
- Rich black background uses C91 M79 Y62 K98
Pattern / Cut Templates
- Production outline is unchanged
- Outline path is unbroken
- Outline is not distorted
- Outline color and stroke weight are unchanged
Additional
- A JPG preview of the finished design is included for reference.
Important: you do not need to prepare artwork for every size
For a corporate garment order, it is enough to prepare the design in the base XL size using the patterns we provide.
We handle the subsequent grading from XS to 3XL, nesting, fabric shrinkage considerations, and preparation for laser cutting ourselves.
Your task is to provide correctly prepared artwork.
Our task is to turn it into a finished garment.
Summary
Preparing artwork for a performance T-shirt or long-sleeve is not only about creating an attractive design. The file must take into account the specifics of sublimation printing, laser cutting, and subsequent garment assembly.
By following the main requirements — working at 1:1 scale, using CMYK, converting fonts to outlines, positioning important elements correctly, and not modifying the production outlines — the artwork will be ready for production without unnecessary technical revisions.
Provide the design in .AI format + a JPG visualization — we will handle size grading, nesting, and preparation for laser cutting.